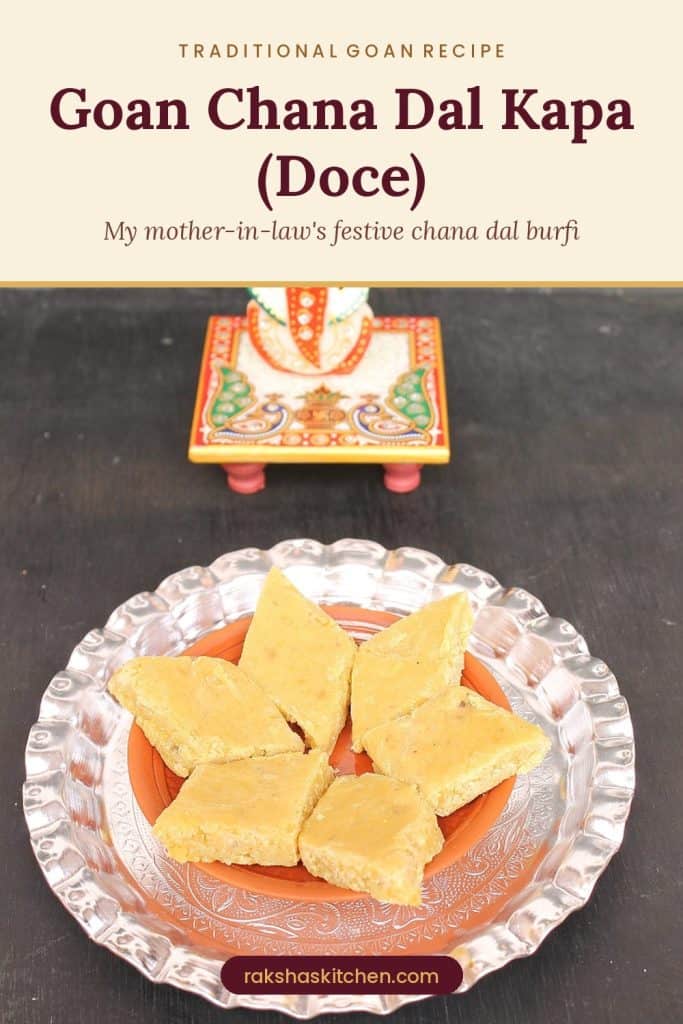
Chana dal burfi, which we call chana dal kapa or doce in Goa, is a festive sweet made with just chana dal, sugar, coconut, cardamom and a spoon of ghee. This is my mother-in-law’s recipe. She has made it for every festival for as long as I can remember, and I finally learnt it from her so I could share it with you.
What I love most is that this chana dal burfi is made without khoya and without milk. There is no condensed milk either. The richness comes from the dal and freshly grated coconut, slowly cooked with sugar until it sets.

Chana dal kapa – a Goan festive sweet made without milk or khoya
What is Goan chana dal kapa (doce)?
Kapa or doce is a traditional Goan sweet made in Hindu homes for festivals and in Catholic homes as part of the Christmas kuswar. It is a firm, fudge-like burfi cut into diamonds. In our home it is made for Diwali, Ganesh Chaturthi and Bhau Beej, when sisters serve sweets to their brothers after the aarti.
Because it keeps well, it is one of the best sweets to make ahead for festivals and gifting.
Why you’ll love this chana dal burfi recipe
- No khoya, no milk, no condensed milk – just 5 pantry ingredients
- Naturally gluten-free sweet made from lentils
- Make-ahead friendly – store it in an airtight container for festivals
- Easy to adjust – use less sugar for a softer kapa
Ingredients for chana dal barfi with coconut
- Chana dal (split Bengal gram): the base of the burfi. Soak it for 30 minutes before cooking.
- Sugar: I use 2 cups for 1 cup of dal. For a softer chana dal kapa, reduce it to 1½ cups.
- Freshly grated coconut: dry-ground into a powder so the burfi stays smooth.
- Cardamom: freshly crushed for fragrance.
- Ghee: just 1 tablespoon, added at the end for a light shine.
How to make chana dal burfi at home
- Soak and cook the dal. Soak chana dal for 30 minutes. Pressure cook it for 2 whistles with water about four fingers above the dal.
- Drain and grind. Strain the dal, saving the cooking water. Once cool, grind the dal in a mixer. If it gets too dry, add a little of the saved water.
- Powder the coconut. Dry-grind the grated coconut into a fine powder.
- Mix. In a bowl, combine the ground dal, coconut powder and sugar.
- Cook on low flame. Cook the mixture in a non-stick pan or kadai on low flame, stirring all the time. The sugar first melts and the mixture turns runny, then slowly thickens and dries from the sides.
- Check if it is done. Drop a teaspoon of the mixture on a plate. If it rolls easily and doesn’t stick to your fingers, it’s ready. If not, keep stirring.
- Add cardamom and ghee. Mix them in well.
- Set and cut. Spread the mixture on a greased plate. Cover with butter paper and flatten with a rolling pin. Let it cool a little, then cut into diamonds.

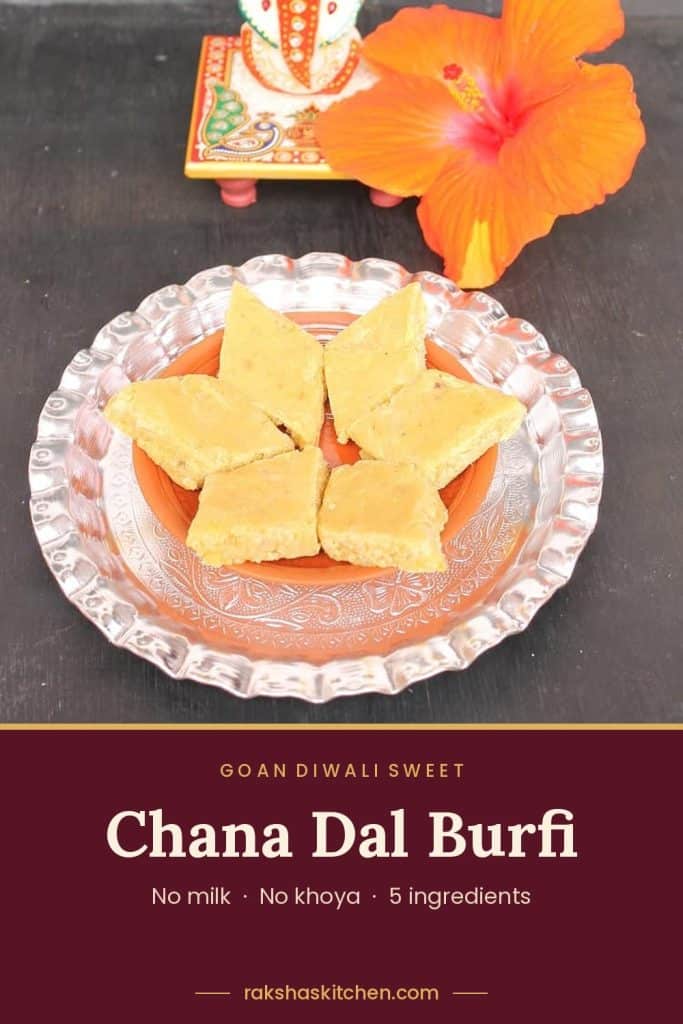
Goan doce, ready for Diwali and Bhau Beej
Tips for perfect Goan chana dal kapa
- Keep the flame low and stir continuously. High heat burns the sugar and makes the burfi hard.
- Don’t skip the roll test. Stopping too early gives sticky kapa that won’t set. Cooking too long makes it crumbly.
- Cut while slightly warm. Once fully cool, the burfi is harder to cut cleanly.
- For a festive touch, press silver varkh on top before cutting.
Variations
- Softer chana dal kapa: use 1½ cups sugar instead of 2.
- Nutty version: add chopped cashews or almonds with the cardamom.
- Saffron chana dal burfi: add a few strands of saffron soaked in a spoon of warm water.
How long does chana dal burfi last?
Because it has no milk or khoya, chana dal burfi keeps well. Store it in an airtight container for up to 3 days at room temperature, or up to a week in the fridge. That’s why it’s ideal to make ahead for Diwali and Bhau Beej.
Frequently asked questions
Can I make chana dal burfi without khoya? Yes. This recipe uses no khoya, milk or condensed milk. The texture comes from ground chana dal and coconut cooked with sugar.
Why is my chana dal burfi sticky and not setting? It hasn’t cooked long enough. Return it to the pan and keep stirring on low flame until it passes the roll test.
Why did my chana dal kapa turn hard? It was cooked too long or on high flame. Next time, take it off the heat as soon as it rolls cleanly.
Can I use less sugar? Yes, reduce it to 1½ cups per cup of dal. The kapa will be softer and less sweet.
What is the difference between chana dal kapa and mangane? Both are Goan chana dal sweets. Kapa is a firm burfi, while mangane is a kheer made with chana dal, sabudana and coconut milk.
More Goan festive sweets
Looking for more Diwali sweets? Try my Goan nevri, Bombay halwa, rice flour chakli or the full Goan Diwali faral collection. For Ganesh Chaturthi, see my Goan recipes for Ganesh Chaturthi.


Goan Chana Dal Burfi (Chana Dal Kapa / Doce)
Ingredients
- 1 cup Chana dal / gram dal
- 2 cups sugar
- 8 cardamom pods peeled and crushed
- 1/2 cup freshly grated coconut
- 1 tablespoon ghee
Instructions
- Soak chana dal in water for 30 minutes.
- Pressure cook for 2 whistles by adding water. The water level should be 4 fingers above the level of added grams or chana.
- After pressure cooking separate water and chana by straining. Let the chana dal cool down.
- After cooling, add chana dal to mixer and grind. If it becomes dry, add little water which was retained from pressure cooker. Keep it aside.
- Add grated coconut in mixer and dry grind to make powder.
- In a mixing bowl, add ground dal, grated coconut powder and sugar. Mix well.
- Take a non-stick pan or kadai, and add the dal, coconut and sugar mixture. On low flame keep on stirring till dry. The sides will start drying.
- To check if it’s done, drop a teaspoon on a plate and check if it rolls. If it rolls easily and does not stick to fingers, then it is ready. Else continue stirring further.
- Add cardamom and ghee and mix well.
- Take a flat plate and grease it with ghee and spread the mixture on it. Place a butter paper over the dal in plate and flatten using a rolling pin.
- Let it cool a bit, cut it into diamonds or any shape that you desire.
Notes
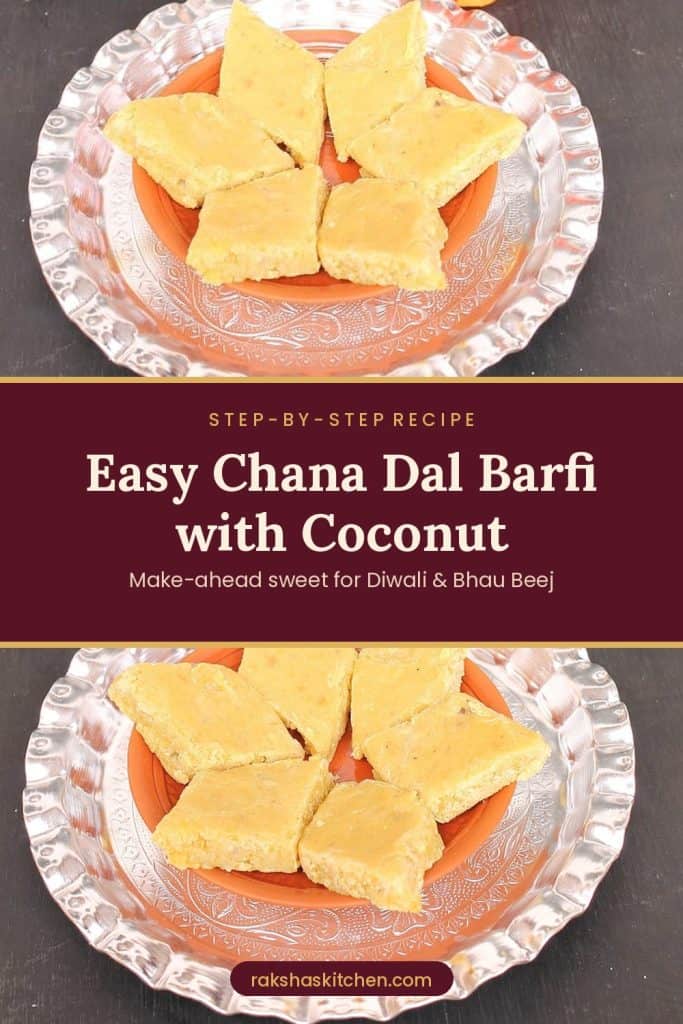
Pin this on Pinterest.





looks delicious dear 🙂
thanks
Love ur recipes thanks
thanks