Step-by-step instructions with pictures to Make Ghee At Home from scratch. This is the most fool-proof method to make organic ghee at home from butter. Also find the video to make clarified butter at home.
Step-By-Step Pictures and Instructions To Make Ghee From Scratch At Home
Initially I used to churn milk in the mixer by changing the blade. But since the time I got a food processor, my task became simple. I really love to make ghee at home. I no longer feel that the smell which comes while melting the butter is dirty and I love the smell of homemade organic ghee.
Many of my friends ask me how to make ghee from milk. So today I thought of explaining in a step-by-step way. I am sure this post will benefit a number of people. Why to buy ghee from store when we can make organic and preservative free ghee at home? The process is not very difficult and once you make it couple of times you will wonder why you did not do it before. So read the post and follow the instructions to make clarified butter or organic preservative free ghee at home and also save some money.
How to make organic ghee at home ?
1) Keep on collecting the cream of milk in a container, preferably a glass container. The cream shown below is collected over 7-10 days. You should store the collected milk cream in fridge to ensure that it does not get spoiled. You will get thick milk cream, if you boil milk and refrigerate overnight. In the morning you will get thick milk cream.
2) The milk cream collected over time will start separating from the water. Water will go to the bottom and cream will be on top.
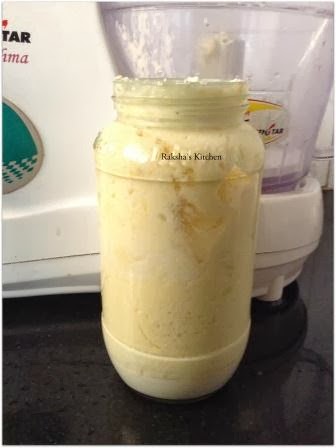
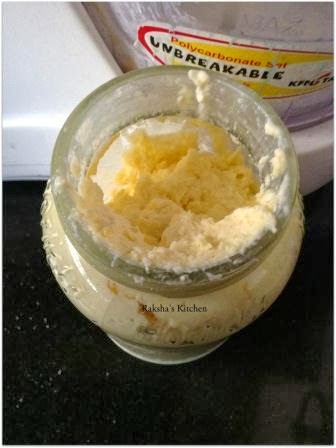
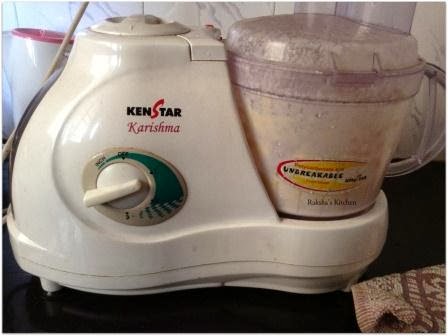
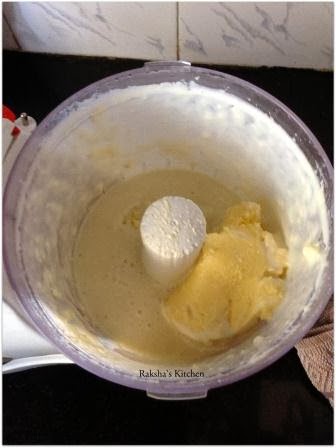
3) Transfer the entire contents of the container, i.e. the collected milk cream in a food processor. Fix the blade used to churn milk and keep it on speed 1 for 5 minutes.
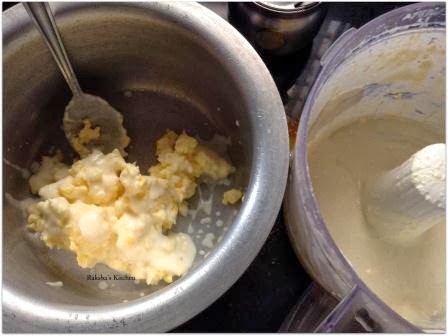
4) You will observe that the butter has separated from the milky water or whey. The milky water is known as whey or buttermilk and the solidified part is butter.
5) Transfer only the butter in a deep bottom pan. Preferably an hard anodized pan or a non-stick pan.
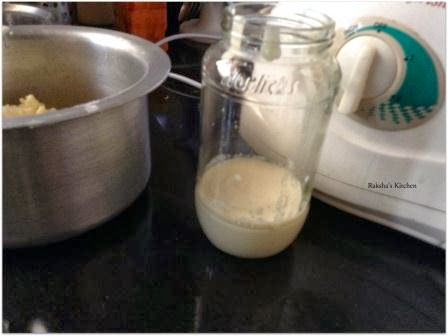
6) Retain a little buttermilk. Wash the container and transfer the buttermilk into it.
7) Now keep the container in which butter is present on the gas or stove. Keep it on medium heat.
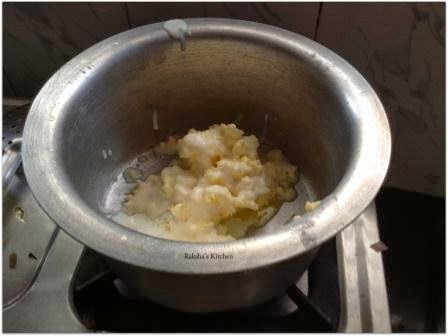
8) The butter will start melting.
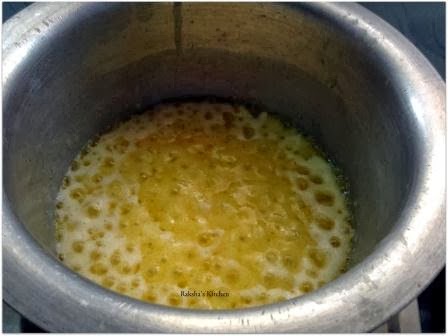
9) Soon you will see clear bubbles forming. Now lower the heat.
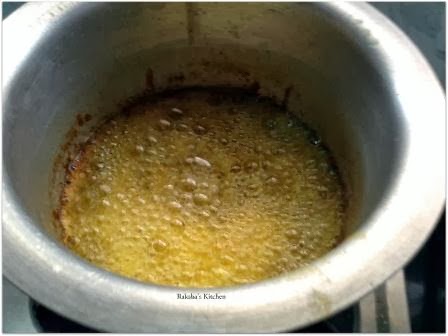
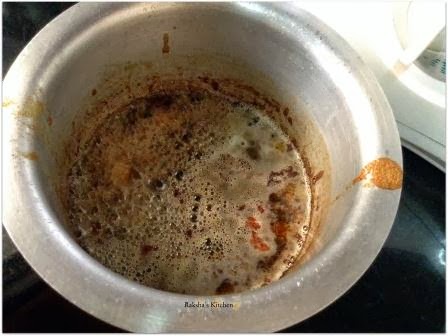
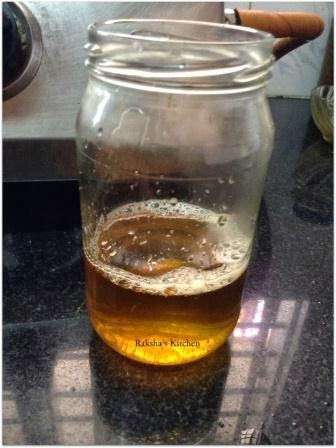
10) Heat it little more till you see clear ghee on top. Now switch off the gas. Don’t worry is milk solids burn. We discard it.
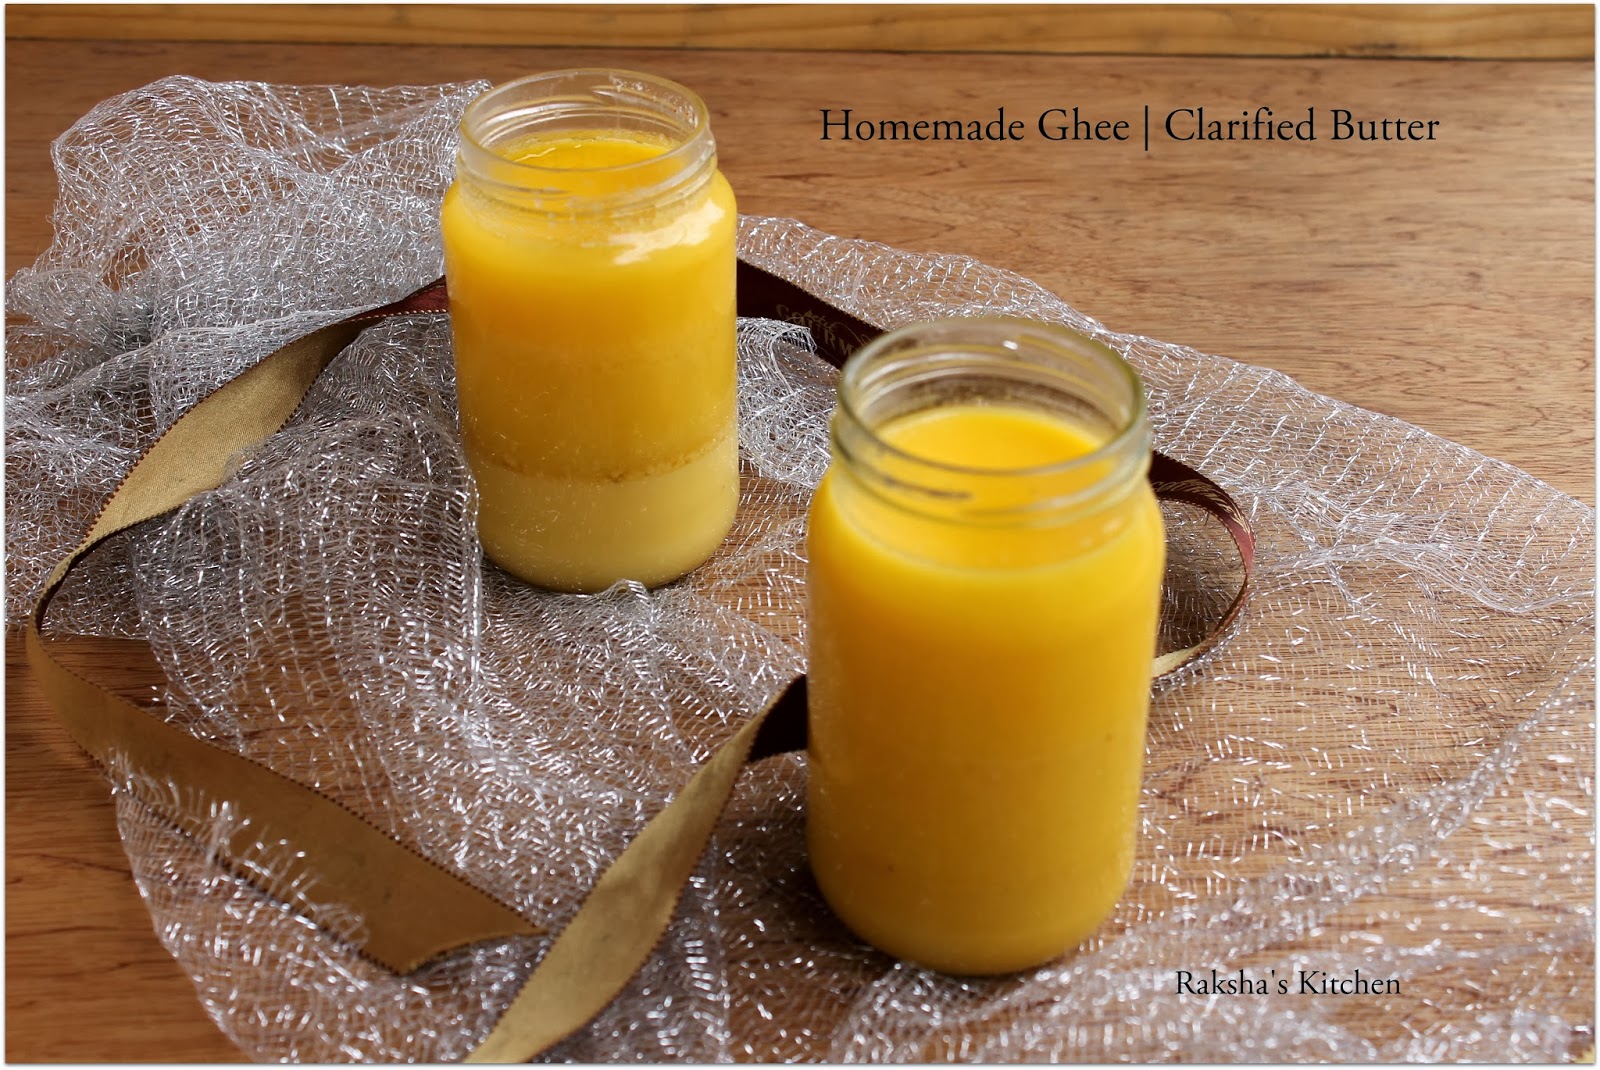
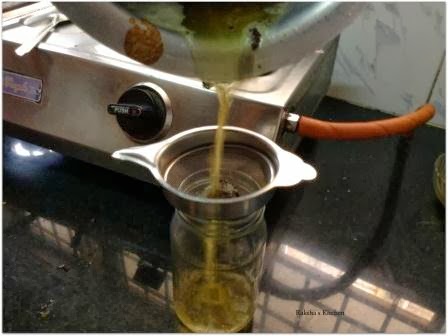
10) Pass the ghee through a strainer or filter and collect the pure ghee in a clean container. I collect this in glass container as I love it that way.
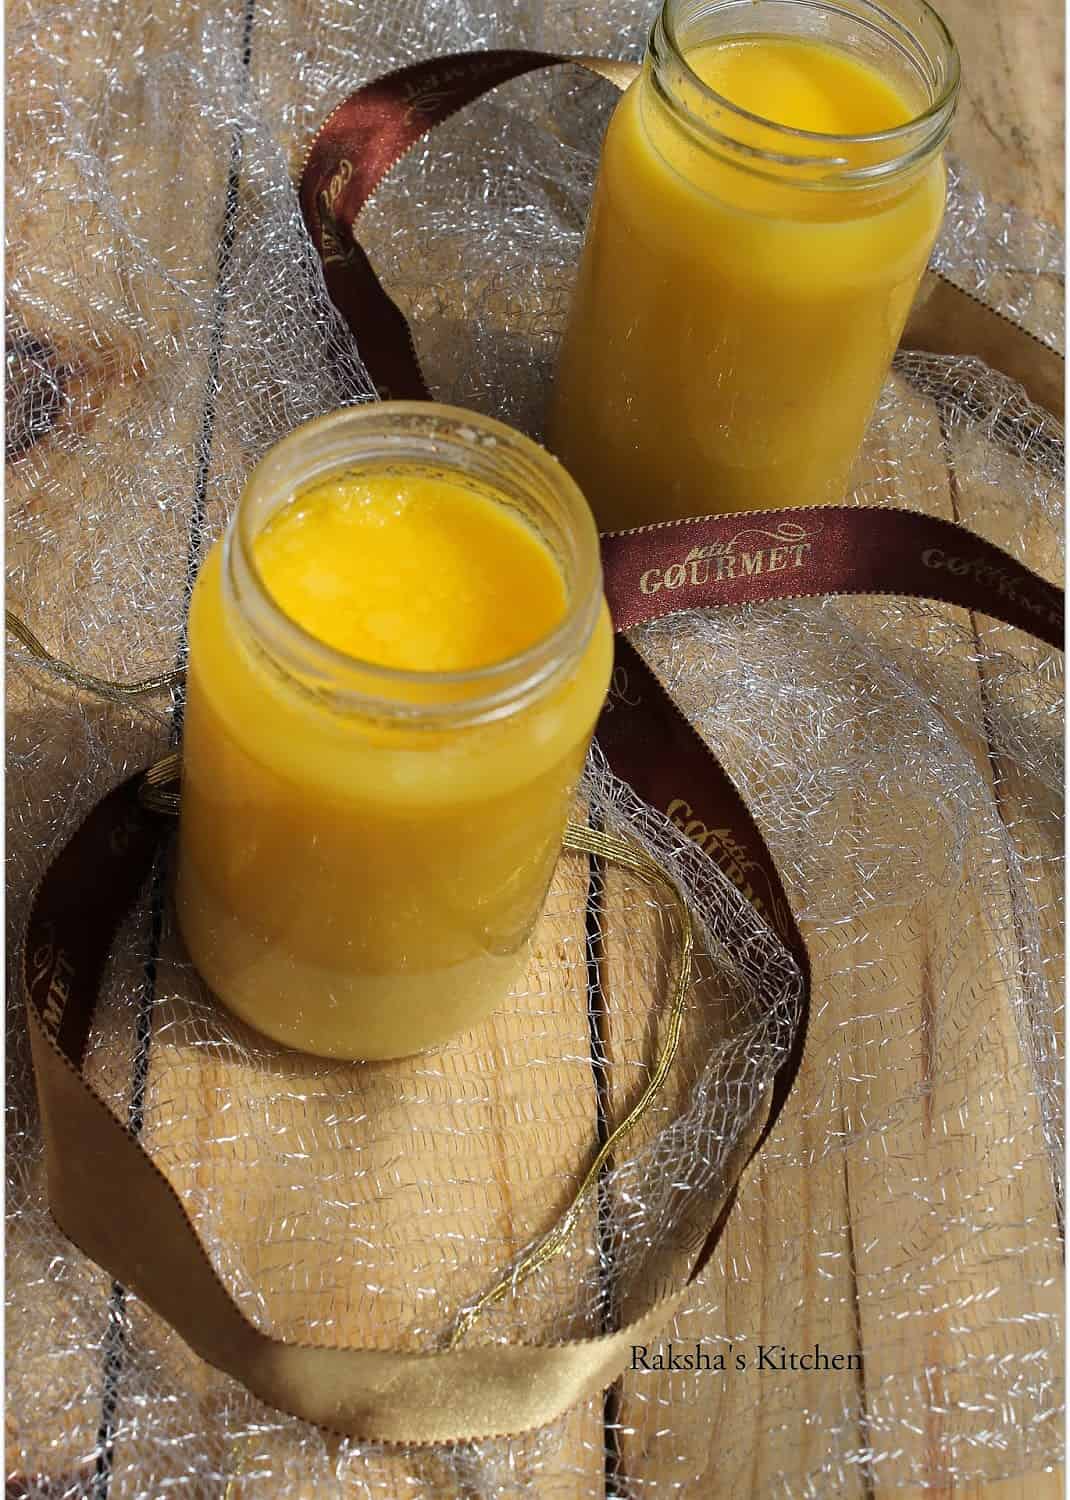
11) Notice that you got pure ghee now. You can smell it and enjoy the aroma of the ghee.
Also check out the video recipe of making homemade ghee at home. Note that I have added a dry turmeric leaf to this to enhance the taste of ghee.
What are the benefits of organic homemade ghee made at home?
Make Desi Ghee At Home – Since the time I got married I understood the benefits of homemade ghee. This is called Desi Ghee in India and in the West it is called clarified butter.
- Apart from using it in cooking food and making rotis, we use homemade ghee or desi ghee to light the lamp in our pooja room or the sacred room where we worship God.
- It also has numerous health benefits. I use it on my lips when I get chapped lips in winter season.
- It is rich in antioxidants and helps to absorb vitamins and minerals from other foods.
In the post, explained the process to make ghee at home with Step-By-Step Pictures. You will now love to make ghee from malai.
When I was small or during my school days or even college days, I used to see my aunt making ghee at home. I and all my cousins used to run away from the kitchen when ghee was being made due to the smell in the house. We used to say that it was dirty smell, though it was a peculiar type of smell. At that point in my life I did not know the benefits of homemade ghee.
After my marriage when I actually entered the kitchen and started handling my household, I learnt from my mother-in-law how to make ghee from milk cream. I started collecting milk cream to make clarified butter. She told me not to discard the milk cream but to collect and make ghee out of it. Even if you don’t eat you can use it to light the sacred lamp in pooja room.
Let me answer some common questions that we find while making organic homemade ghee at home from scratch:
How to prevent smell in kitchen while making homemade ghee?
If you have a turmeric leaf, add it to the utensil while making organic clarified butter. Let it be in the utensil till the end. You can remove the leaf while straining the ghee. Check the video to know more about this.
After collecting milk cream should we keep it in freezer?
No. Do not keep it in freezer. Just keep it in refrigerator.
Can we make ghee with cow milk or buffalo milk?
Ghee can be made with either cow or buffalo milk.
Why is the ghee not yellow?
Because it is made with buffalo milk. Using cow’s milk makes yellow ghee and buffalo’s milk makes white ghee.
How to collect milk cream for making ghee?
Boil milk at night, cool and store in fridge. Next morning, you will see thick milk cream. With the help of a spoon remove the cream and transfer it to an airtight container made of good plastic or glass. Continue collecting milk cream in a similar way for a week or till the container is full.
What to do with leftover buttermilk after making ghee?
Retain 1/4th cup of buttermilk and use it for making the next batch of ghee.
Step by Step Instructions To Make Ghee At Home
Step-by-step instructions with pictures to Make Ghee At Home from scratch. This is the most fool-proof method to make organic ghee at home from butter. Also find the video to make clarified butter at home.
Equipment
- Hard anodized utensil
- Food processor
Ingredients
- 1 Milk cream collected for 7 to 10 days in airtight container
Instructions
- Keep on collecting the cream of milk in a container, preferably a glass container. The cream shown above in pictures is collected over 7-10 days. You should store the collected milk cream in fridge to ensure that it does not get spoiled. You will get thick milk cream, if you boil milk and refrigerate overnight. In the morning you will get thick milk cream.
- The milk cream collected over time will start separating from the water. Water will go to the bottom and cream will be on top.
- Transfer the entire contents of the container, i.e. the collected milk cream in a food processor. Fix the blade used to churn milk and keep it on speed 1 for 5 minutes.
- You will observe that the butter has separated from the milky water or whey. The milky water is known as whey or buttermilk and the solidified part is butter.
- Transfer only the butter in a deep bottom pan. Preferably an hard anodized pan or a non-stick pan.
- Retain a little buttermilk. Wash the container and transfer the buttermilk into it.
- Now keep the container in which butter is present on the gas or stove. Keep it on medium heat.
- The butter will start melting.
- Soon you will see clear bubbles forming. Now lower the heat.
- Heat it little more till you see clear ghee on top. Now switch off the gas. Don't worry if milk solids burn. Discard it later.
- Pass the ghee through a strainer or filter and collect the pure ghee in a clean container. I collect this in glass container as I love it that way.
- Notice that you got pure ghee now. You can smell it and enjoy the aroma of the ghee.
Video
Love this recipe? Pin this recipe on Pinterest to refer it later.Follow @rakshaskitchen and tag #rakshaskitchen on Instagram!
Get Free Video Recipes !!!Click here to -> FREE RECIPES
Liked the recipe?
Pin it and share it on social media with hashtag #rakshaskitchen

Note: This post might contain affiliate links. All images are copyright of Raksha’s Kitchen.


Very useful post,loved thoroughly ur stepwise pictures.
Thanks Raksha, your article is very specific and helpful.
I just have one question. I have been collecting the cream in a bowl (not a glass one though, it was of stainless steel) in the fridge. After a few days like 3-4 days, I noticed a little fungal spot on the cream. I threw away that particular part of teh cream. But I am not sure if it's okay to use the rest of the cream.
Also I don't understand why this happened. Should I be keeping them in air tight container? Or glass container is a must? Coz i observed my Mom used to make ghee and collect the cream in a stainless steel bowl only and it used to work!
Could you throw some light into it?
Thanks,
Alakananda
Did u keep it in the freezer? It shud be in the freezer
Not freezer, but you should keep it in refrigerator.
You can use any milk , even packaged.
Yes there are chances that milk cream which is not stored in refrigerator will get spoiled. Fungus will start developing on it.
should I use only cows milk for making ghee or packaged milk will also do?
Also if I don't store the collected cream from milk in refrigerator will it get spoiled? Because I stay in a PG style accomodation I don't have access to refrigerator.
Hi Raksha,
I put the entire cream into the blender and ran it to for over 20 mins. The butter and water did not separate. I collecyed cream from 4% fat- packaged milk.
What should I do? Can I use it as cream for pasta or for something else while I cook?
You can use open container but you should add curds or buttermilk to it. But keep it in fridge. I prefer using airtight container.
nice post
What to do for butter milk which we have collected in container
U can use the buttermilk to mould dough for making parathas, or just season it and drink it as chaas and if it smells bad, just discard it by retaining a bit. If u retain a bit next time you can use it as a base in which you can collect all the cream.
Buttermilk can cure gastritis and improve our digestion! Drink a small glass of buttermilk daily.
Thanks for the tip
Thanks Raksa for the lovely tips.
Even i just found your blog and feel you have assist many peole all around the world with useful tips. Including me an Indian from Indonesia.
Regard,
Wanen
Thanks for the nice comment Wanen
Add chilled water nd blend it again. The butter will separate from the cream.
Hi raksha does just by collecting and blending the milk cream changes into butter
Yes sometimes collecting milk cream for many days changes to butter as the milk cream gets fermented. Else you can add 2 tablespoon curds to the jar in which you collect the milk cream.
Hi raksha ,I stored the cream in a glass jar & refrigerated it.I used ice cubes while blending it. But still the butter did not separate it looked like buttermilk. I ran the mixer for some 10 min. Pls help
I think you added lots of ice cubes which melted. Try running the mixer for more 15 minutes. And next time when you collect cream, add 1 tablespoon curd to your jar or left over buttermilk that you will have after making butter.
Is there any use of remaining burnt fat material after filtering pure ghee at the last step. What it called as?
If you skim it off instead of letting it burn, you can bake with it. We call it bugroo.
After collecting all the ghee to a separate bottle/ container, add 50-100 gms of rice flour to the vessel, a little coconut, sugar/ jaggery depending on your taste. you can add dry fruits/ cardamom etc depending on your taste/ creativity. Mix all this well in the vessel and take it out. Enjoy this savoury. My grandmother used to make this everytime she made ghee at home and we loved it as kids.
Hello mam..ghee nikalne ke baad jo khoya sa bachta hai kya uska use krne se Wo nuksan krta h
Discard it
We can add sugar to the left over khoya and eat, dont burn the khoya entirely while making the ghee, if its golden brown color. It tastes amazing. At my place, we also add beetle leaf in the last, and eat that too for health reason. Try and see.
Once you add suga to the khoya and heat it, it will become “butterscotch sauce”.
In America, we put this butterscotch sauce over ice creams.
Nice to know
Hello mam..ghee nikalne ke baad jo khoya sa bachta hai kya uska use krne se Wo nuksan krta h
No
This comment has been removed by the author.
how long you can store the ghee and use it?
Hi, from where have you been “collecting” the cream for a week?
Is it necessary to add curd to it? And for how many days milk cream can be stored.
Yes add curd. Store it for upto 10 days in a tightly closed glass jar.
“Collect” it from milk. Boil milk at night. Cool and refrigerate.
Next morning you will see thick cream. Collect it 🙂
Hi Raksha,
Thanks for your post..I got the ghee …but the aroma is not as GRB Ghee..
should we follow anything else?
Hi frnd,
My aunt use to add drumsticks leaves and elachi while boli. Is it good
Not sure about drumstick leaves. My mom in law adds turmeric leaves too.
Curd is similar to yogurt
Hi ,why the butter i make from above proc is white in colour ? Is it butter r am i making something wrong.
You might be using buffalo milk. Cow’s milk makes yellow butter and ghee
you could preferably store t in the freezer and you should not see any fungus…even in the stainless steel bowl and you can use that cream .If any fungus remains in that cream then it will die in the heating process.#CHAPETIP
Can I make ghee by adding all the cream along with buttermilk in to the PAN..
I am not sure. I never tried that.
Fantastic article. It could be great if you can create a blog for making ghee using traditional Vedic process.
Why is the malai and butter not separating for me ?
please tell me what all steps you did.
if want make ghee in big quatity,how do i it.
big quantity means how much?
hi, while churning the cream i added more water and ice cubes (which eventually melted). so now I’m left with something like a buttermilk(even after churning it for more than 15 mins, used both hand mixer and blender). can you help me in salvaging this?
u can keep the cream back in fridge and try churning gain after 2 days.